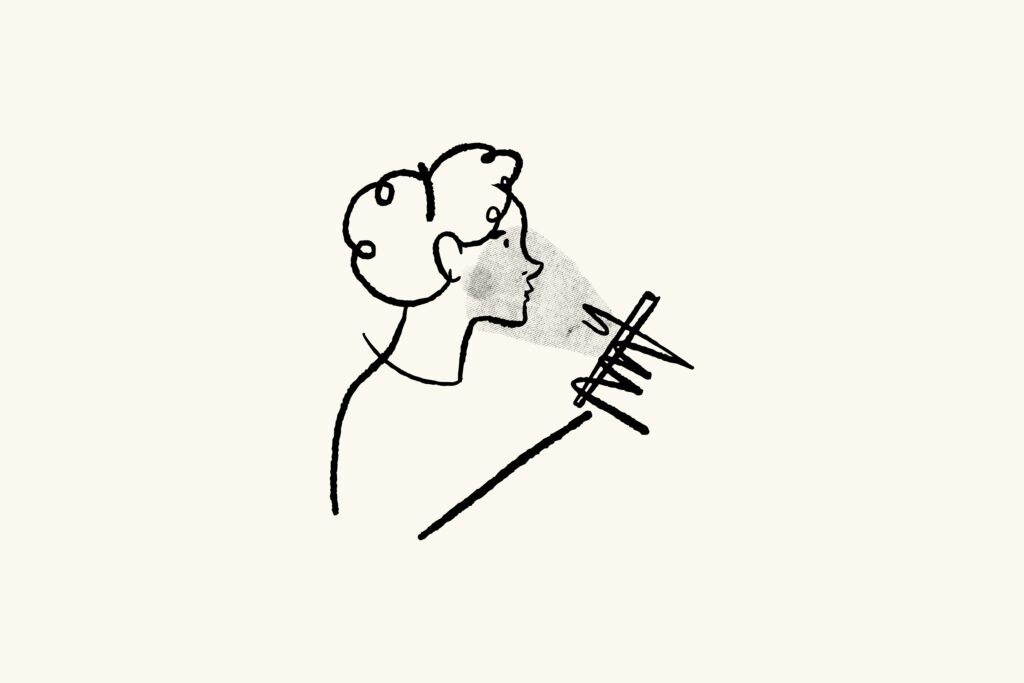
Simple practices that actually improve your drawings
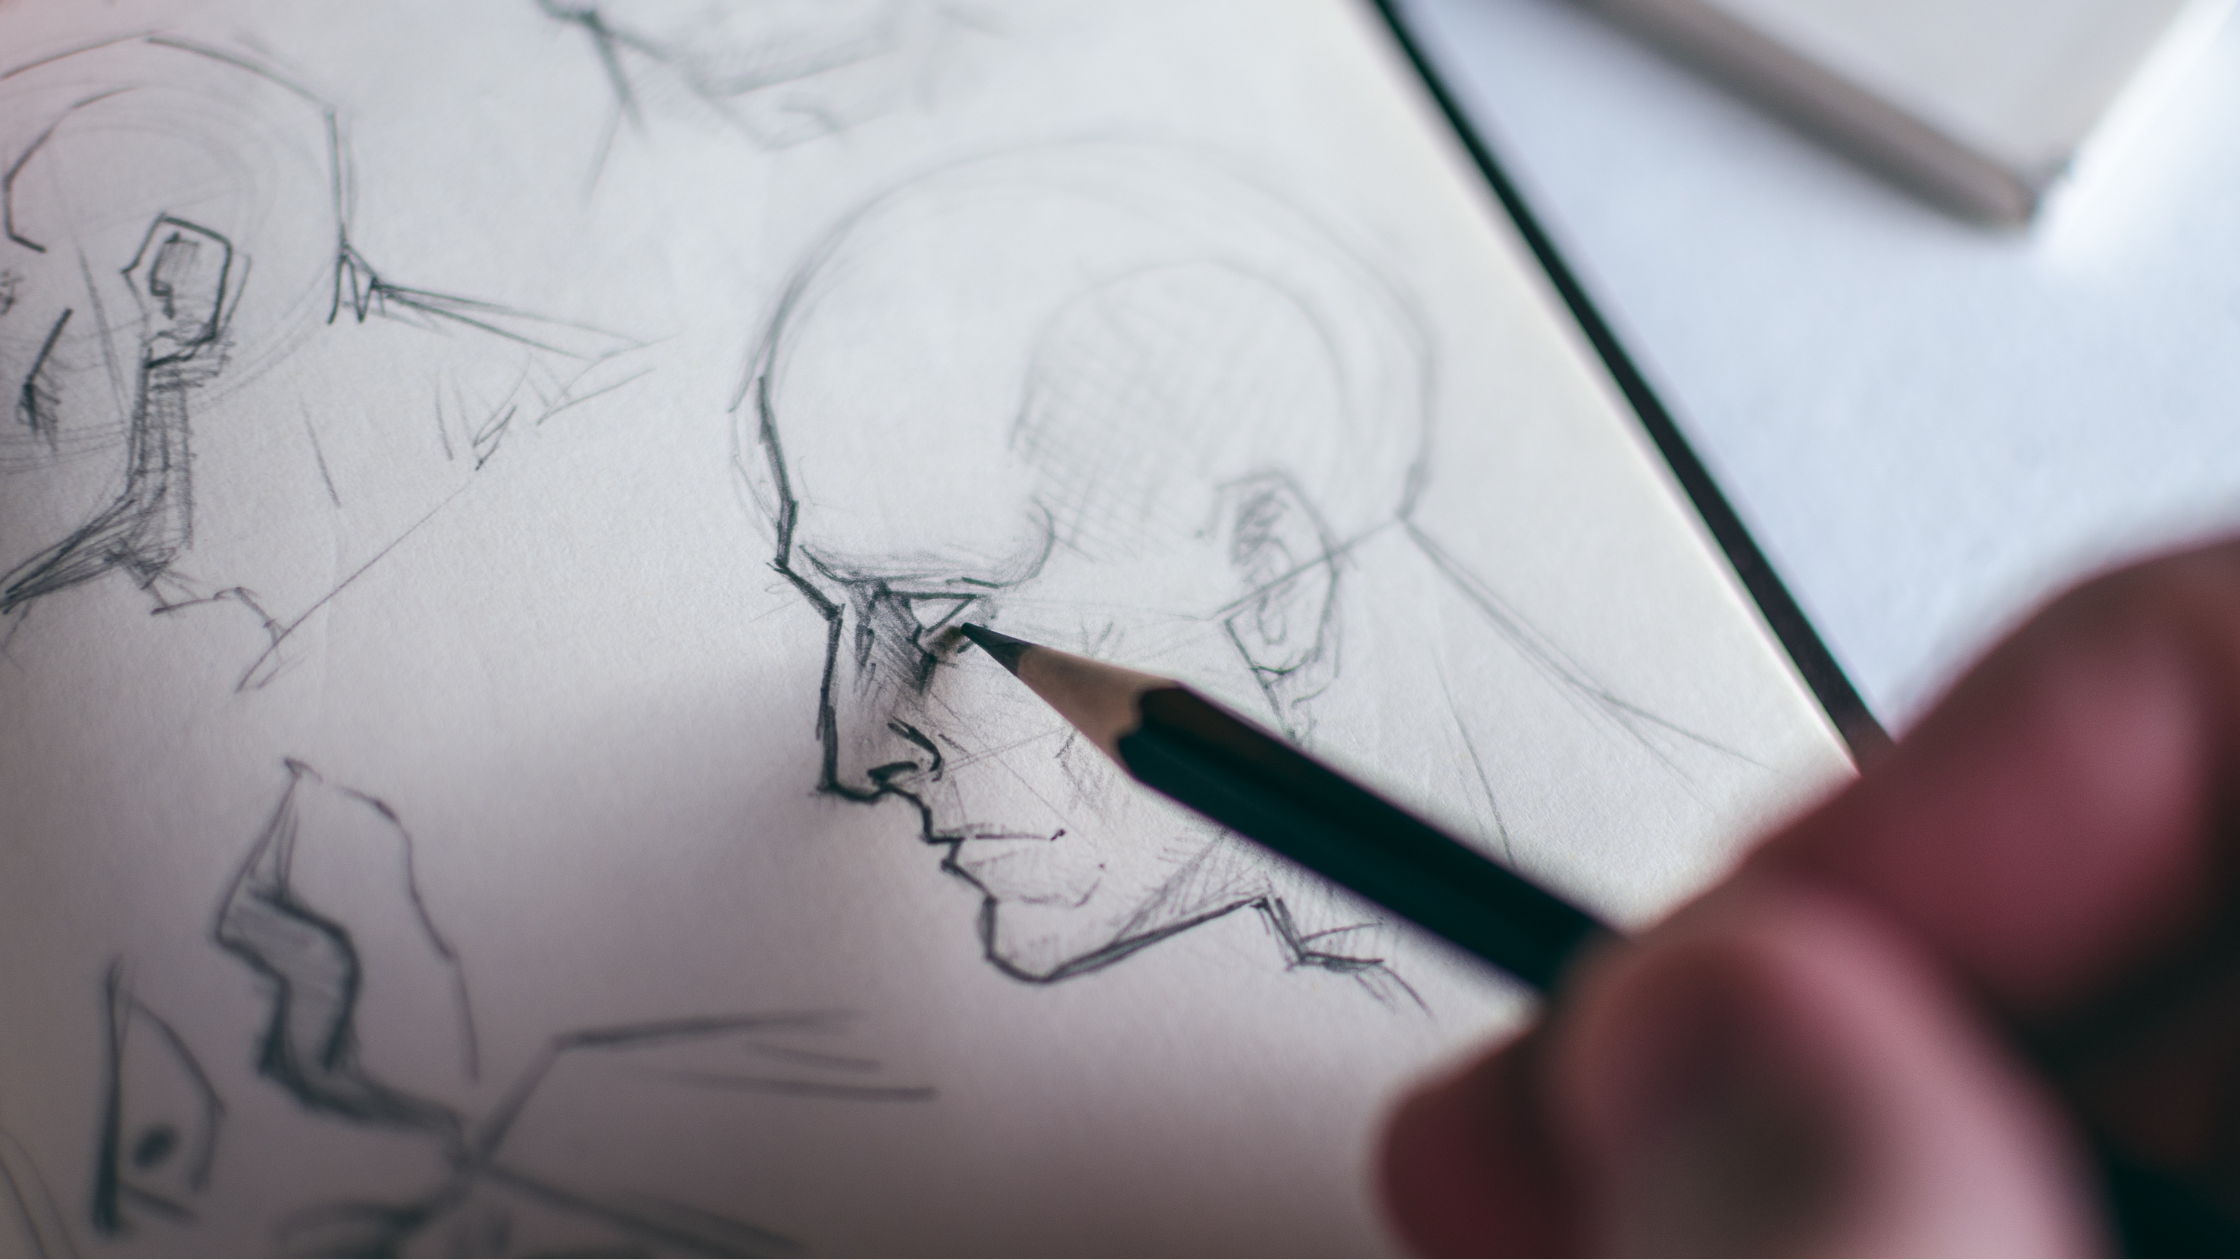
Shading is one of those things that looks intimidating… until you break it down into small, repeatable exercises.
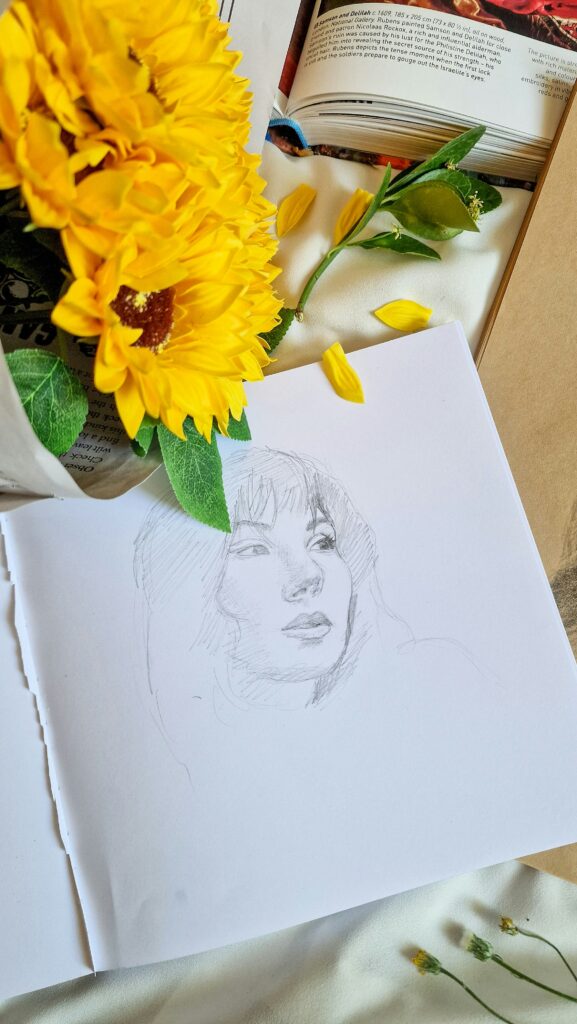
When I was starting out, shading was what made my drawings finally feel three-dimensional. You don’t need complicated techniques or expensive supplies — just consistency, patience, and the right kind of practice.
These 20 beginner-friendly shading exercises are meant to be short, low-pressure, and effective. You can do one a day, or a few in a single session.
Before You Start: Tools I Recommend
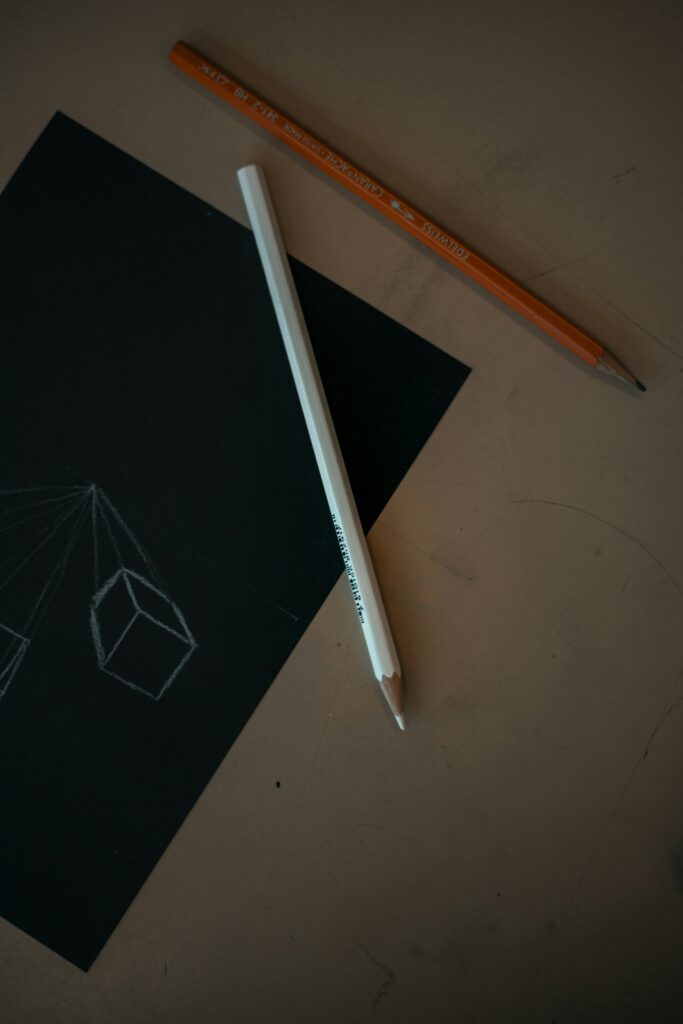
You don’t need much to practice shading, but having a range of pencil hardness makes a huge difference.
✏️ STAEDTLER Mars Lumograph Sketch Set (6 Degrees)
This is the pencil set I started with, and I still recommend it to beginners.
It’s affordable, easy to find, and gives you a great range from light to dark — which is perfect for learning value control and smooth shading.
👉 https://amzn.to/3Mm8nqw
📓 Sketchbooks I Actually Use
When practicing, I always suggest cheap sketchbooks from the dollar store. They remove the pressure of “wasting” good paper and let you experiment freely.
Once you feel more confident, upgrading to something sturdier can feel really rewarding.
Talens Art Creation Sketchbook
This is what I personally use. It has a lot of pages, comes in different sizes and fun colours, lays flat, and the paper quality is great for pencils.
👉 https://amzn.to/4rKwSha
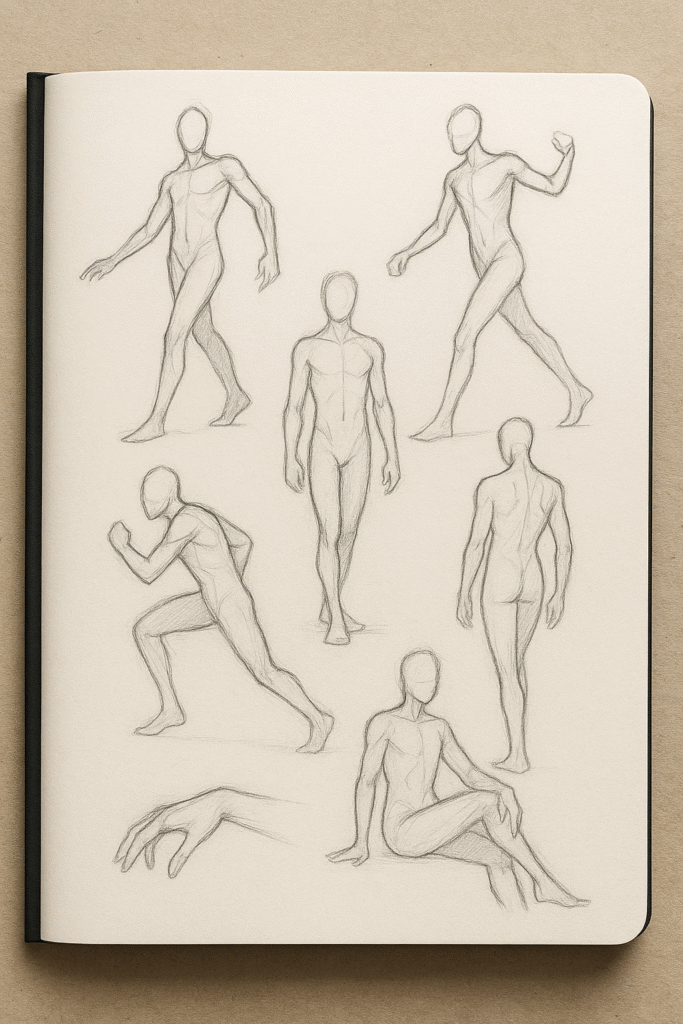
20 Shading Exercises for Beginners
1. Gradient Bar
Shade from light to dark in one smooth motion.
This is the foundation of all shading.
2. Value Squares
Create 5–7 boxes, each slightly darker than the last.
3. Pressure Control Lines
Draw lines using increasing pressure from light to dark.
4. Circle Shading
Turn a flat circle into a sphere using light and shadow.
5. Cube Shading
Practice shading the three planes differently.
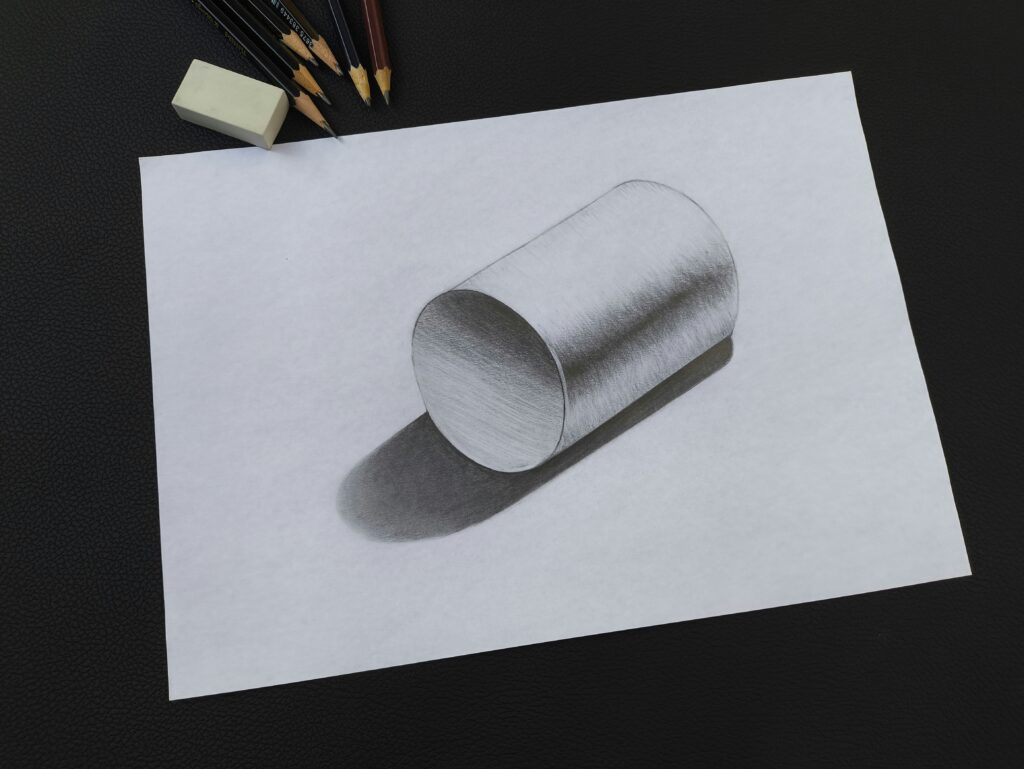
6. Cylinder Shading
Great for understanding rounded forms.
7. Cone Shading
Focus on smooth transitions.
8. Cross-Hatching Scales
Fill squares using only crossed lines.
9. Single-Direction Hatching
No crossing — just parallel lines.
10. Scribble Shading
Shade using loose, circular scribbles.
11. Texture Squares
Create small boxes and shade:
- wood
- fabric
- metal
- stone
12. Shadow-Only Study
Draw only shadows — no outlines.
13. Light Source Practice
Draw a simple object and shade it with:
- light from above
- light from the side
- light from below
14. Eraser Highlight Exercise
Shade everything mid-tone, then erase highlights.
15. Soft Edge vs Hard Edge
Practice blending one side and keeping the other sharp.
16. Sphere With Cast Shadow
Add a shadow on the ground plane.
17. Layering Exercise
Build shading in 3 light layers instead of one dark one.
18. Timed Shading (5 Minutes)
Quick shading without overthinking.
19. Reference-Based Shading
Shade a simple photo in grayscale.
20. Same Object, Three Values
Shade the same object in:
- light
- medium
- high contrast
Why These Exercises Work
These practices train you to:
- control pencil pressure
- see value differences
- understand light direction
- shade confidently without smudging
And because they’re simple, you’re more likely to stick with them.
A Gentle Reminder
Shading isn’t about perfection — it’s about seeing.
Every sketch, even the messy ones, teaches your eyes something new.
Progress happens quietly.